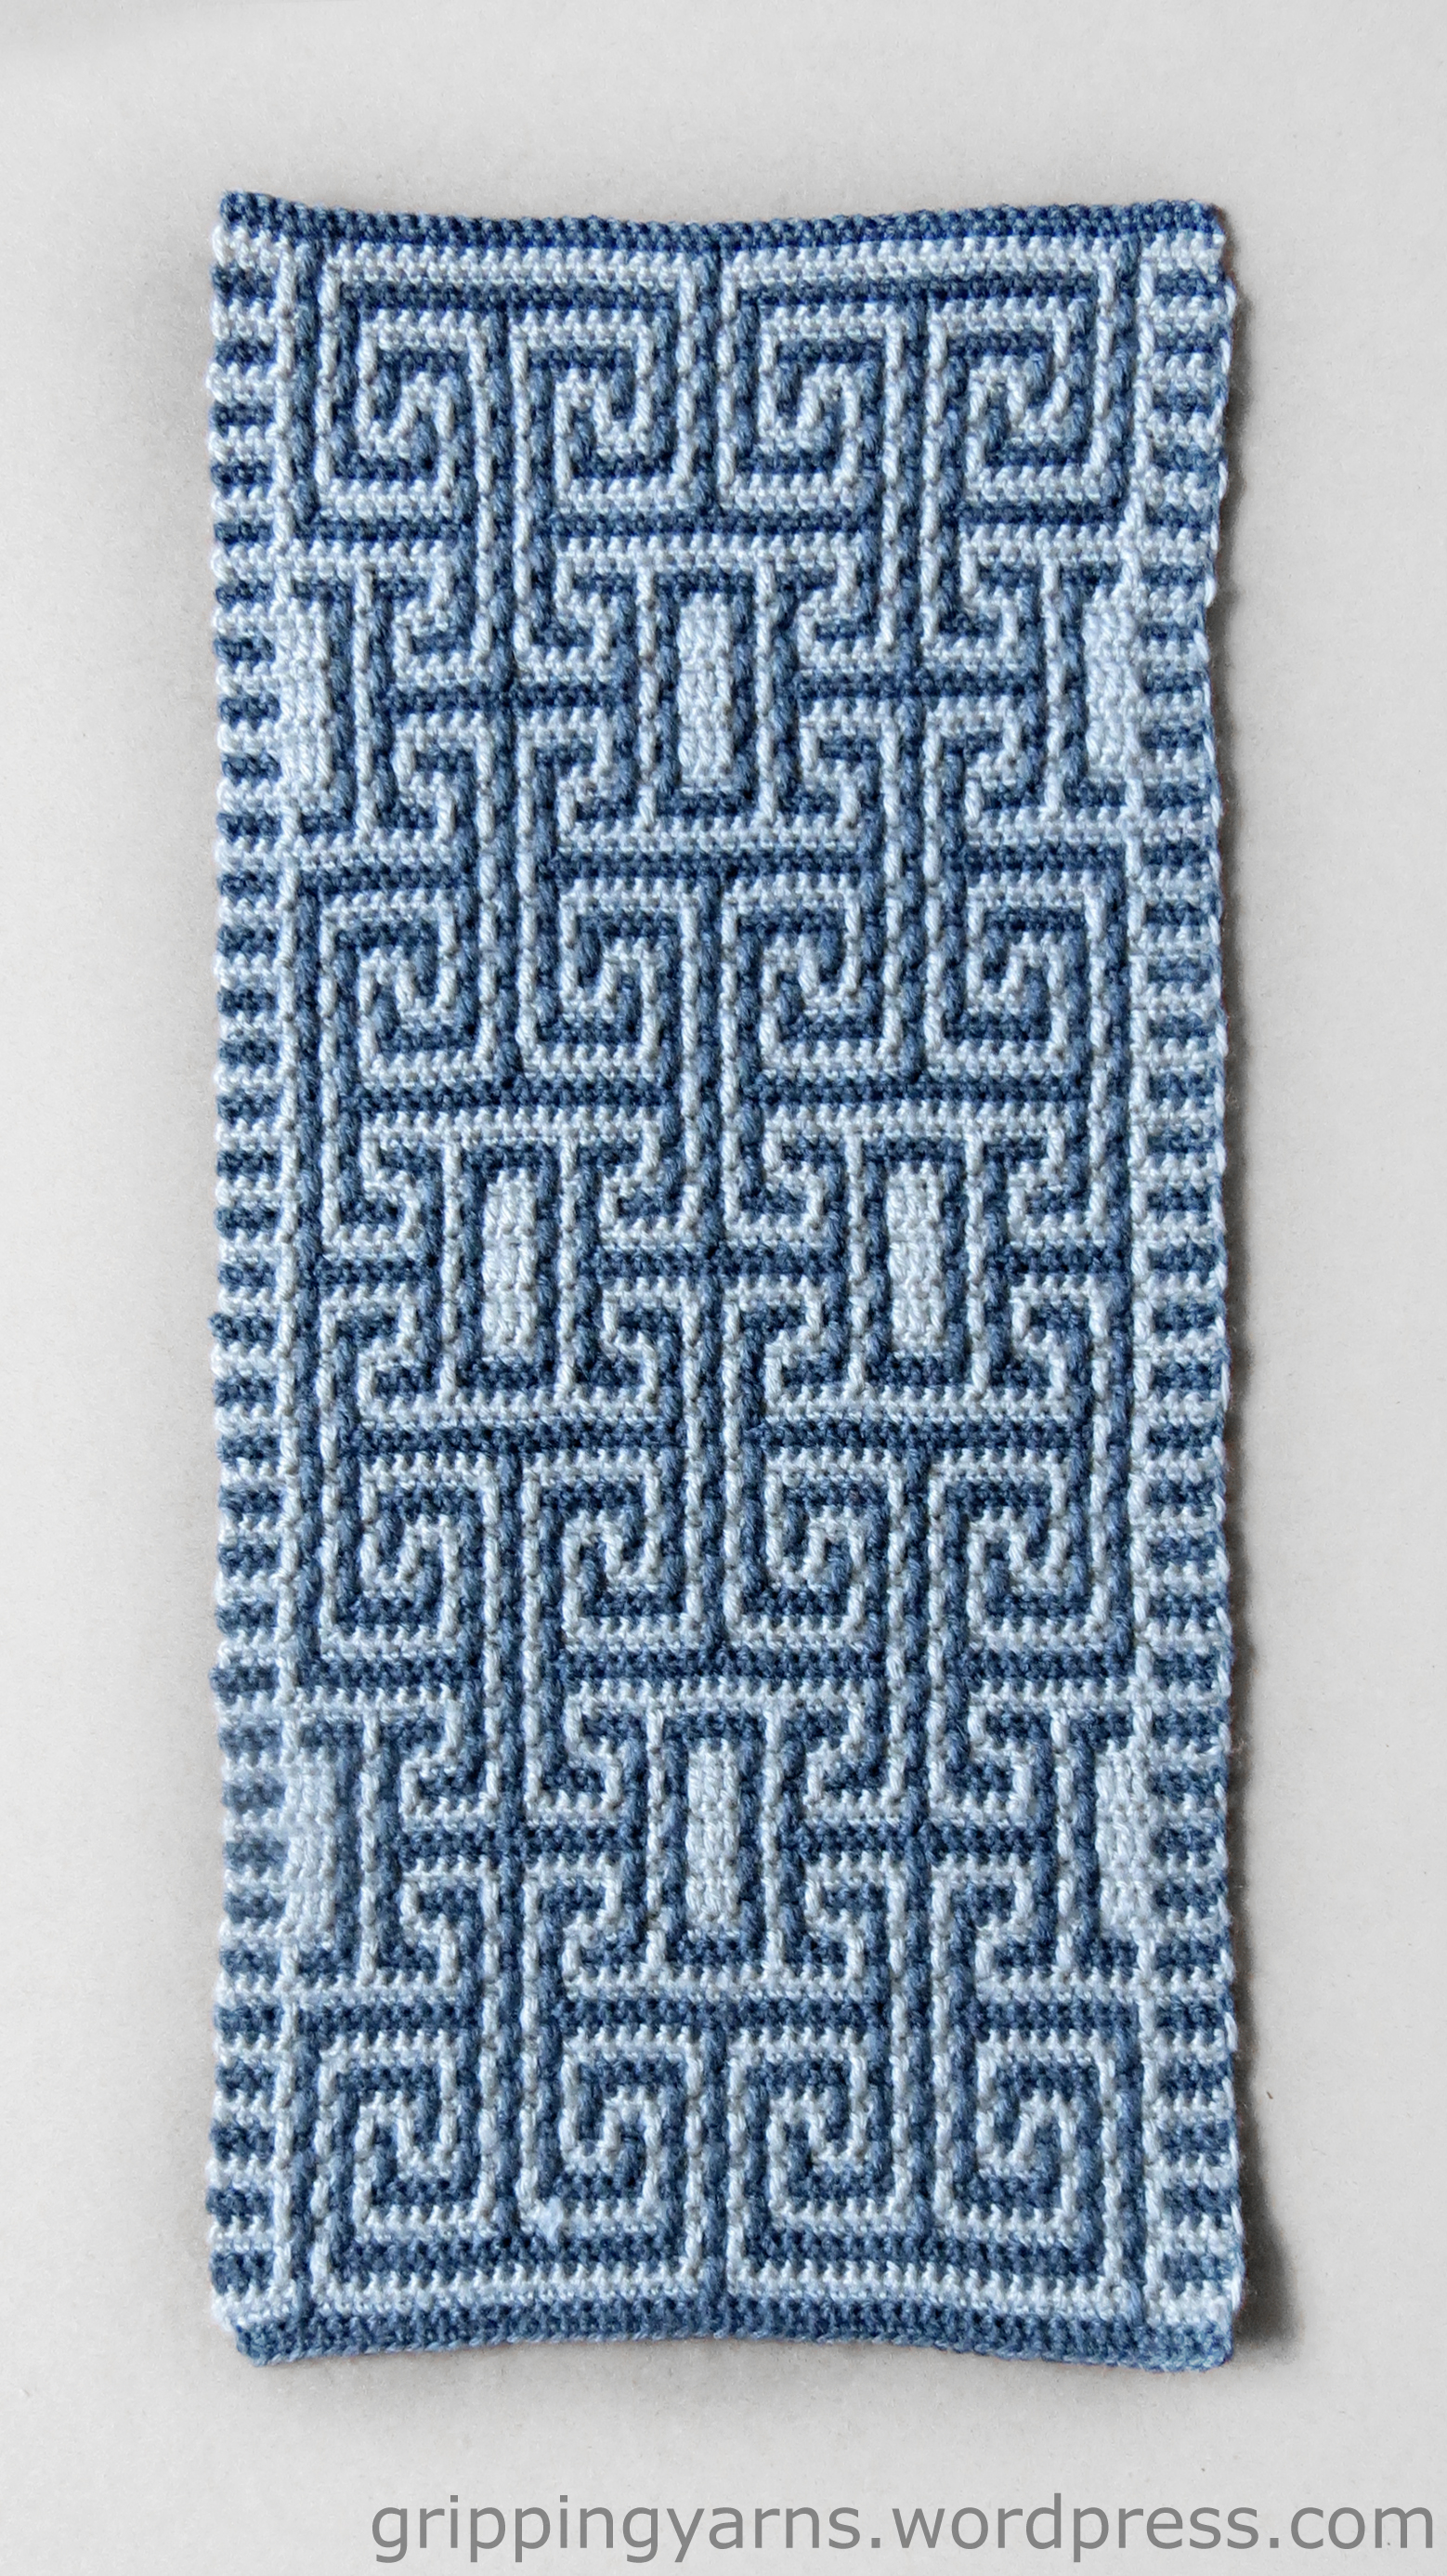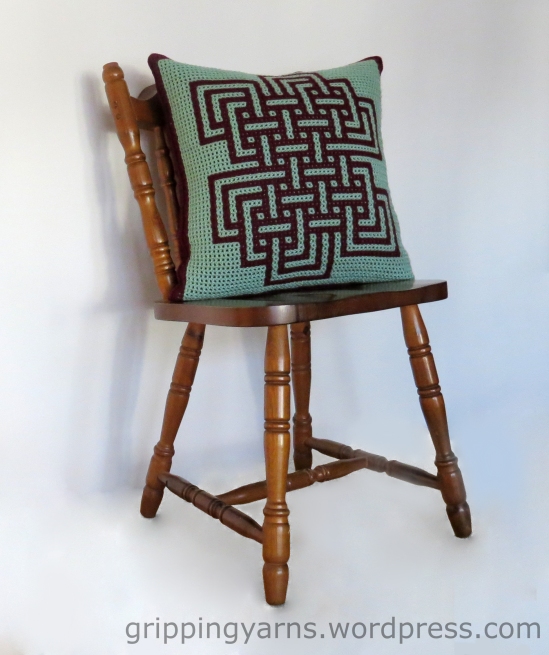
This project is the first of two cushion/pillow designs I’ve been working on. The requirements for both cushions/pillows are that the designs are “non-girly” and that the finished size must be 20×20 inches.
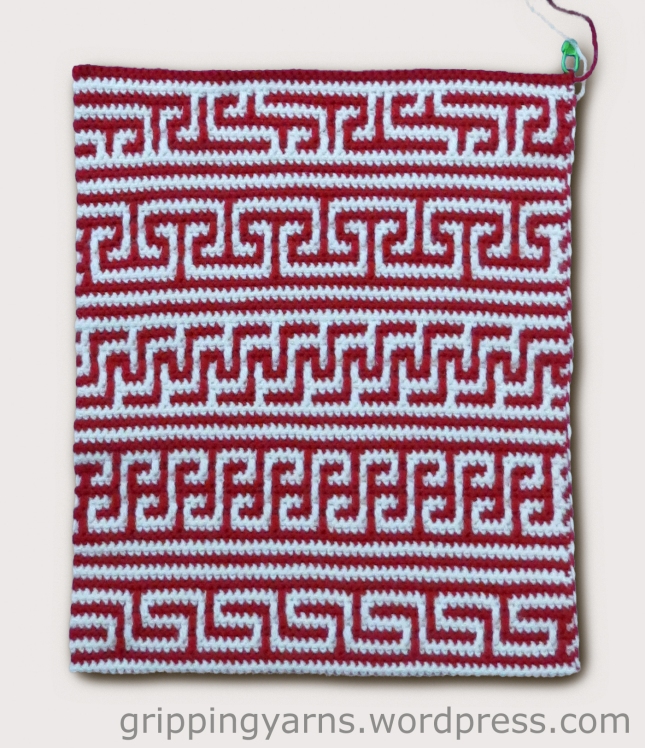
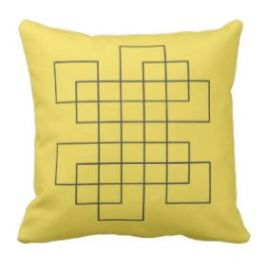
The inspiration for my first design came from this photo of the fabric cushion below…..
Materials for this project:
Yarn: 300grms of burgundy and 125grms of green Acrylic DK yarn
Needles: 3.50mm crochet hook.
Cushion/pillow pad 20×20 inches. (firm over-stuffed)

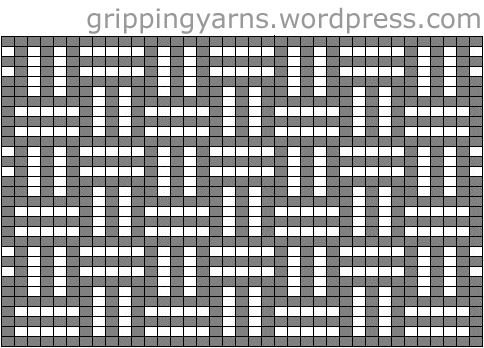
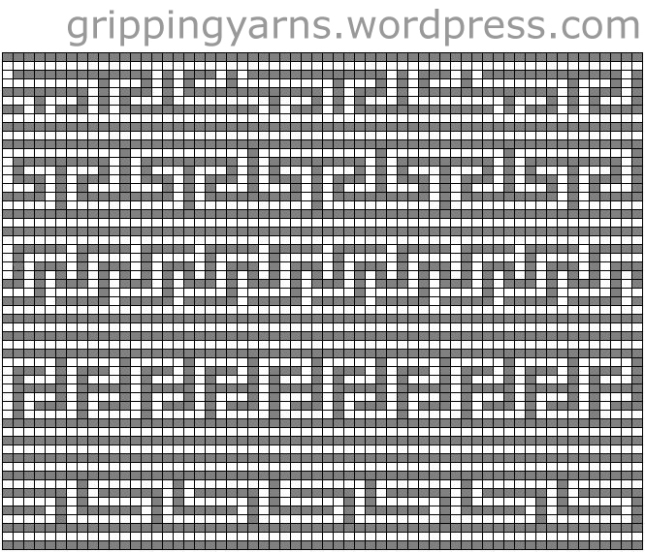
Firstly, I worked a plain filet swatch in each colour to calculate the final size of the cushion. Then, I created the above chart/graph as a pattern/guide to work from. The yarn provided for this project was not a brand that I had previously used, and the packaging stated a hook size of 4.00m. However, I had some difficulty with the green colour yarn, and in the end I had to use a size 3.50m hook to obtain the require project measurements.
For the front of my cushion:
I worked a foundation row of 62 cells in the burgundy colour yarn and 61 cells in the green colour yarn, then followed the chart/graph.
For the back of my cushion:
Using the burgundy yarn only, I worked 66 rows of 100 double crochets and fastened off. The resulting fabric is plain, yet textured perfectly for the back of the cushion.
To join back and front:
Using the burgundy yarn with front and back together, right side facing and working through both the back and front, I worked single crochets evenly around the cushion, working 2 sc in each filet cell and 4 sc in each corner until 3 sides are joined together. I then inserted the pad and continued working single crochets around to join the fourth side, sl st in the top of the beginning ch, fastened off and weaved in the ends.
I did not create an opening to remove the cover for cleaning as both the yarn and pad are synthetic, making the whole cushion machine washable.
I loved every minute of working this project and could not put it down.