Everyone needs a needlework project bag/basket. I don’t mean the basket or box we use to store our scrap yarn and tools….I mean a lovely bag to hold the project we’re currently working on when we move from room to room or even travel away from home (up until now I’ve always carried my work in an old supermarket carrier bag). I thought I’d buy myself a nice new bag, until I saw how expensive they are.
I remembered that I had an old needlepoint bag stored in the attic for at least 18 years, which I hoped could be cleaned up and used again. However when I got it down from the attic, it was clearly not usable as the fabric was rotten and torn and the metal pivots were rusted. I was about to throw it away when I decided to take the whole thing apart and remake it. I just love a challenge!
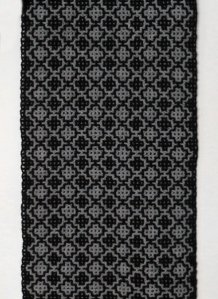
 Side B |
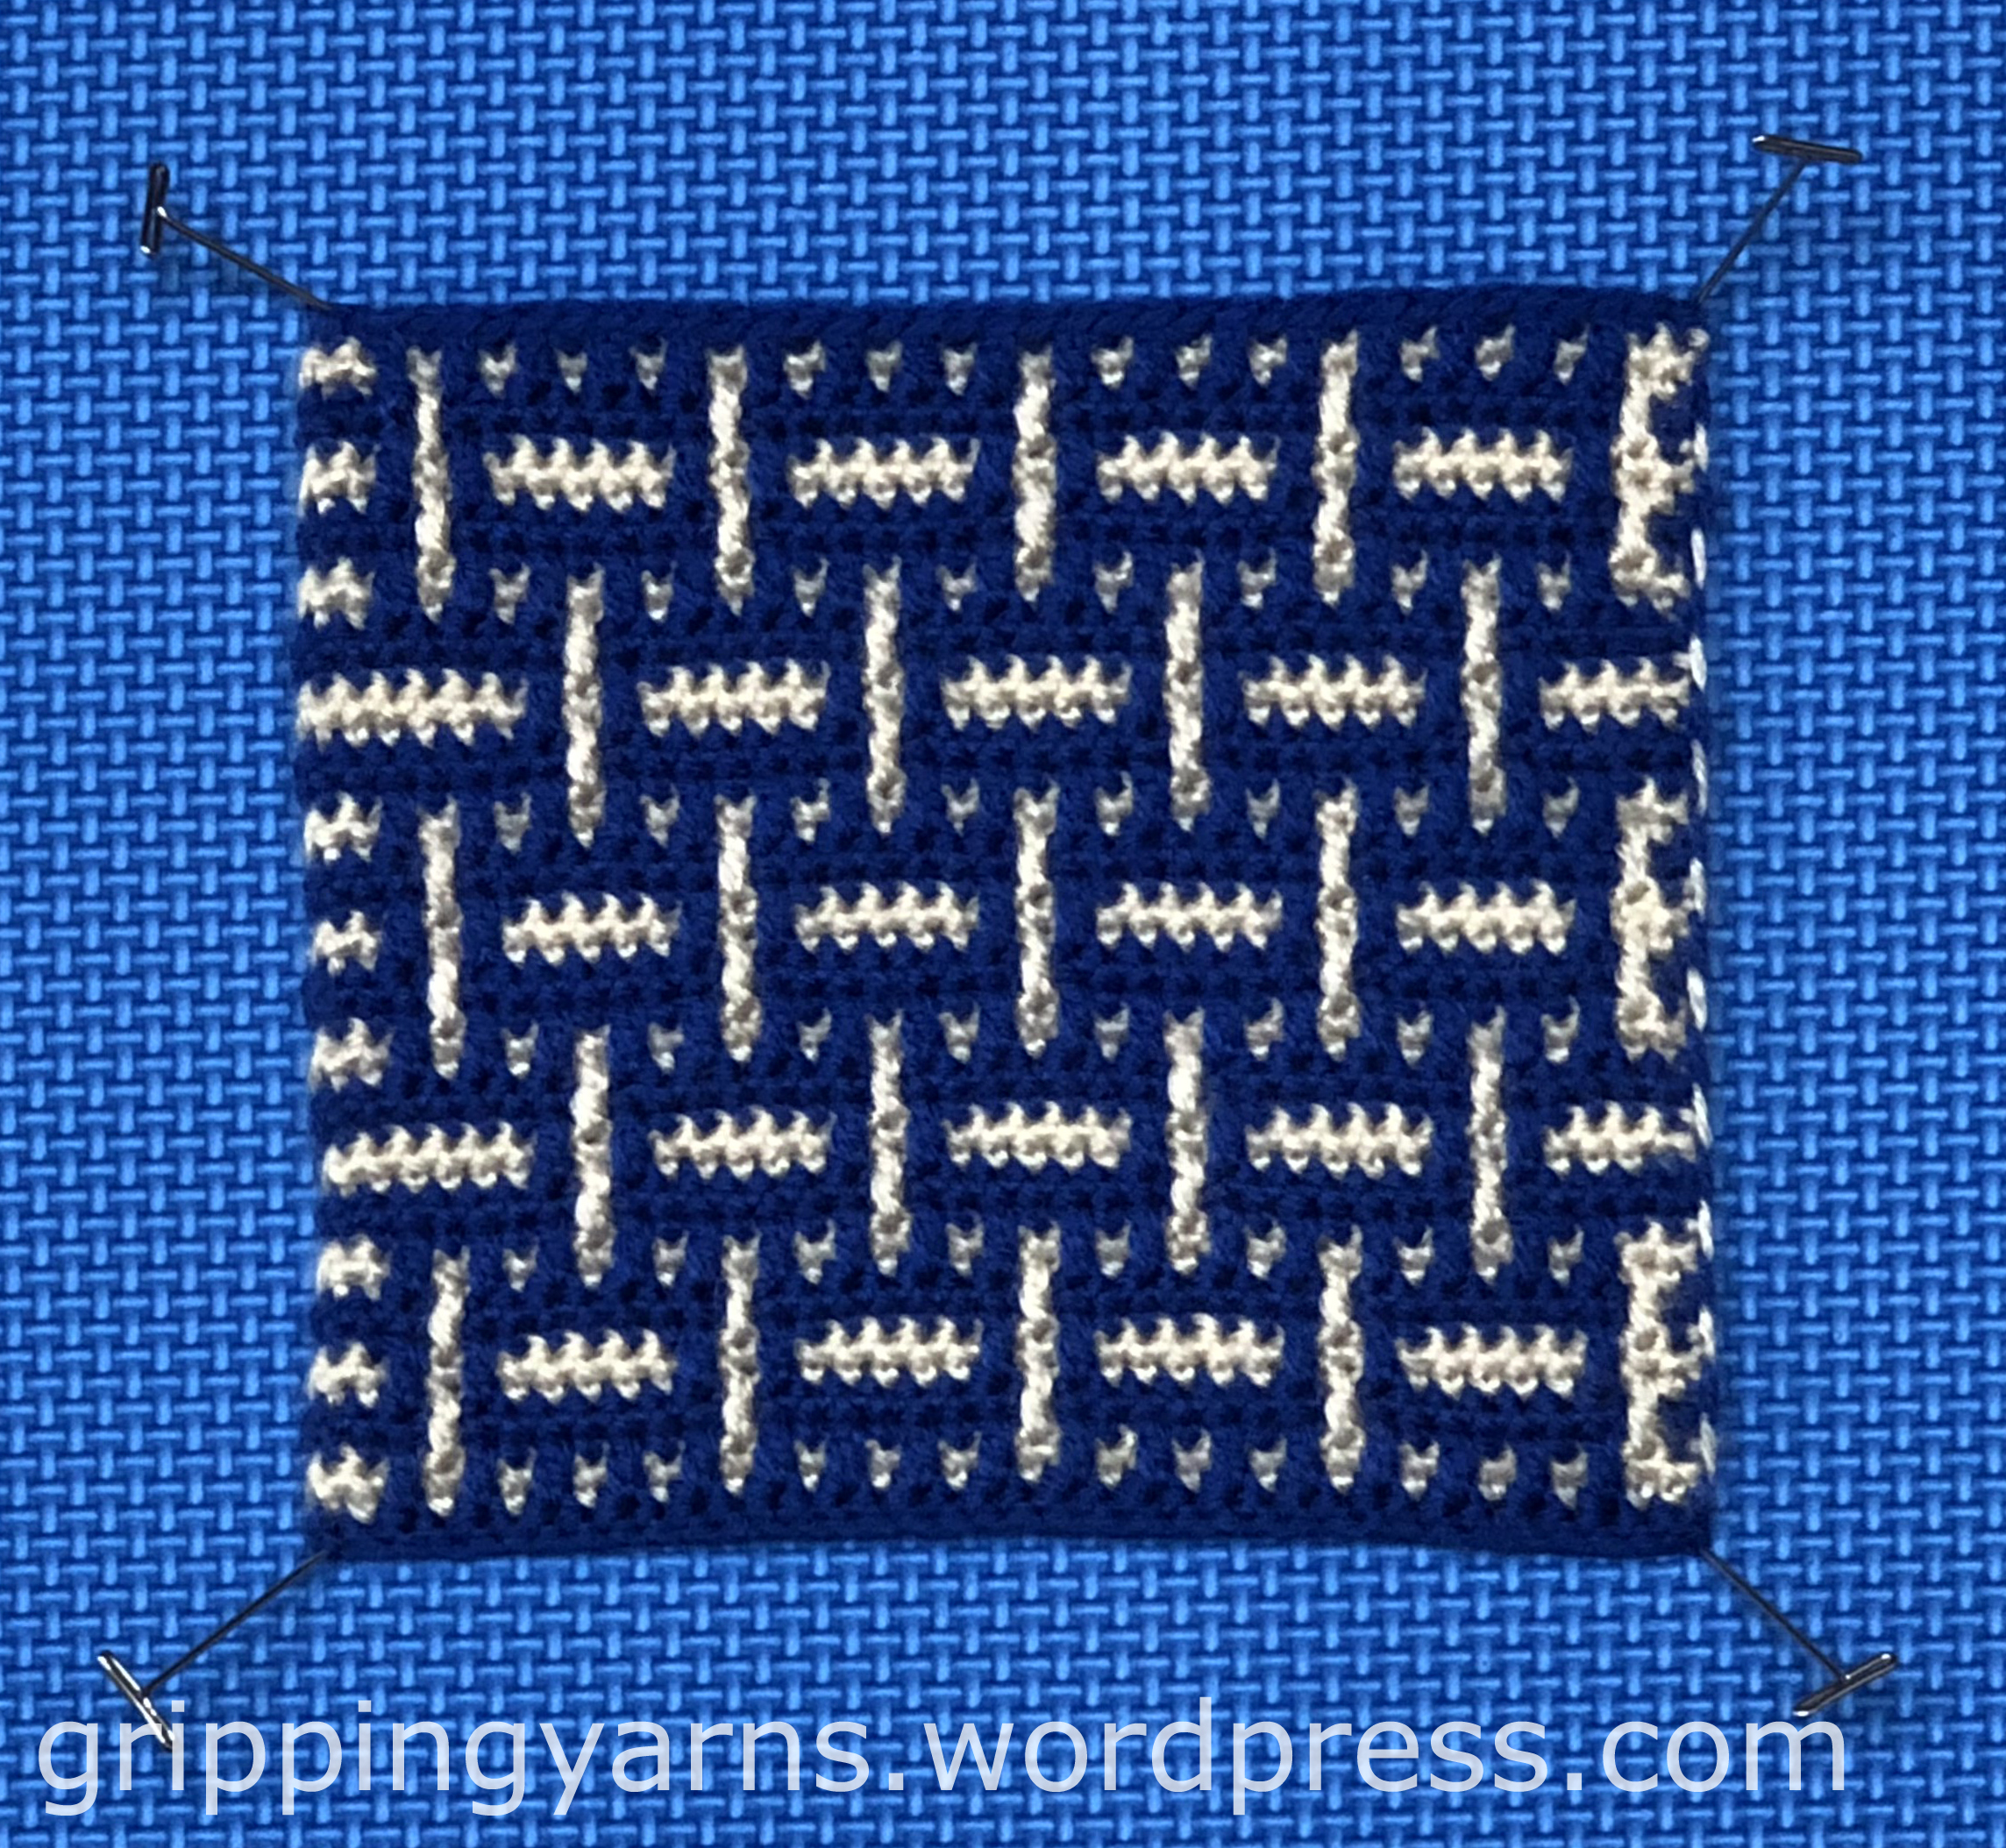
 Side A |
I unpicked the old fabric and used it to make paper templates of the body and sides. It almost fell apart while I was doing so. Using the paper templates, I then crocheted fabric into a design remembered from my youth, using the technique of intermeshing -double filet. The most difficult part of this project was choosing which side of the fabric to use as side A. It was the cause of much family discussion!

I also used the paper templates to cut a lining of double thickness to increase the strength of the finished article, as the original was very flimsy. In the original bag, the inner lining was made as a separate bag and attached to the completed outer bag using top stitching. I decided to attach my lining by machine-stitching it to the crocheted fabric, in order to limited its stretchiness and therefore maintain the shape of the completed bag when filled with items.

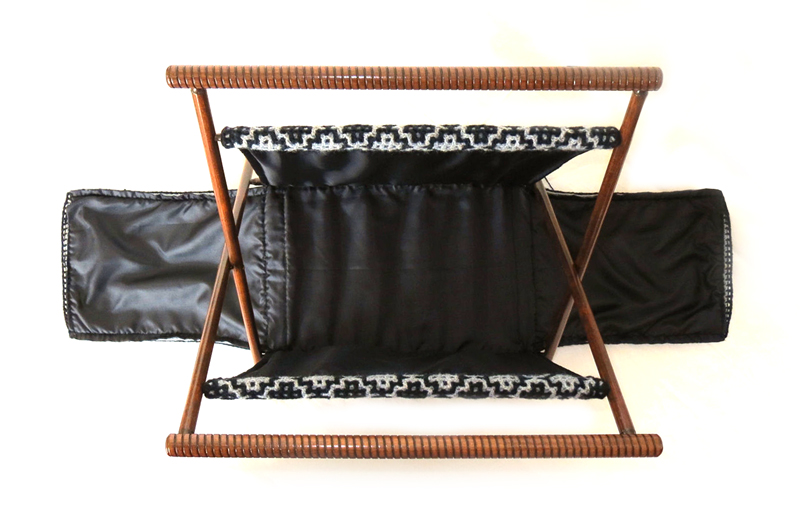
I sanded all the old varnish from the frame and a family member re-varnished it for me (I have a problem with the smell of varnish) in a lovely walnut colour. At this point, the whole bag could have been sewn/crocheted together, the frame taken apart then threaded through the completed bag, and the frame put back together again. However, as my frame was pretty old, I decided not to take a hammer to it….

…Instead, I threaded the bottom lining and side panels of the bag through the two lower bars of the frame and machine-stitched through all thicknesses of fabric, to limit the travel of the legs when opened. I then stitched the front and back of the bag to the upper two bars of the frame.
To finish off, I hand-stitched the lining side seams together then crocheted the sides to the front and back using single crochet stitches. The project bag folds flat when not in use. The fabric design makes it look like an old fashioned carpet bag and I absolutely love it!